Today, I’ll show you the Ring Video Doorbell 2. This is the latest version of the original Ring doorbell. It now features a 1080p camera and also a removable and rechargeable battery. So, now you don’t have to remove the whole doorbell unit to charge it. All the other features are the same as the original one. Today, I’ll show you the unboxing, setup, install, check out the features and some video footage. Is this a better version?
Well, let’s find out.
The main thing that has been updated with this version is the camera. The original is a 720p and this one is now a 1080p camera. Also, it now has a removable rechargeable battery and the bottom half of the camera can be changed with the included faceplates. It comes with a silver or what they call “satin nickel” and the brown or the venetian faceplates.
So let’s open up the box.
We have a window decal…
Some one page information…
A user guide booklet…which shows you how to setup and install your Ring doorbell…it is very thorough and will give you clear instructions with pictures on how to setup and install the camera.
Now, we have the installation tool box which has the mounting screws, a diode for those with electronic doorbells, machine screws, concrete drill bit, a couple of extension wires, a phillips and torx head bit, a level, a USB cord used to initially charge the battery, wire nuts and the handle for the bit.
Well, now, there is definitely more extra stuff that is provided to easily install your doorbell.
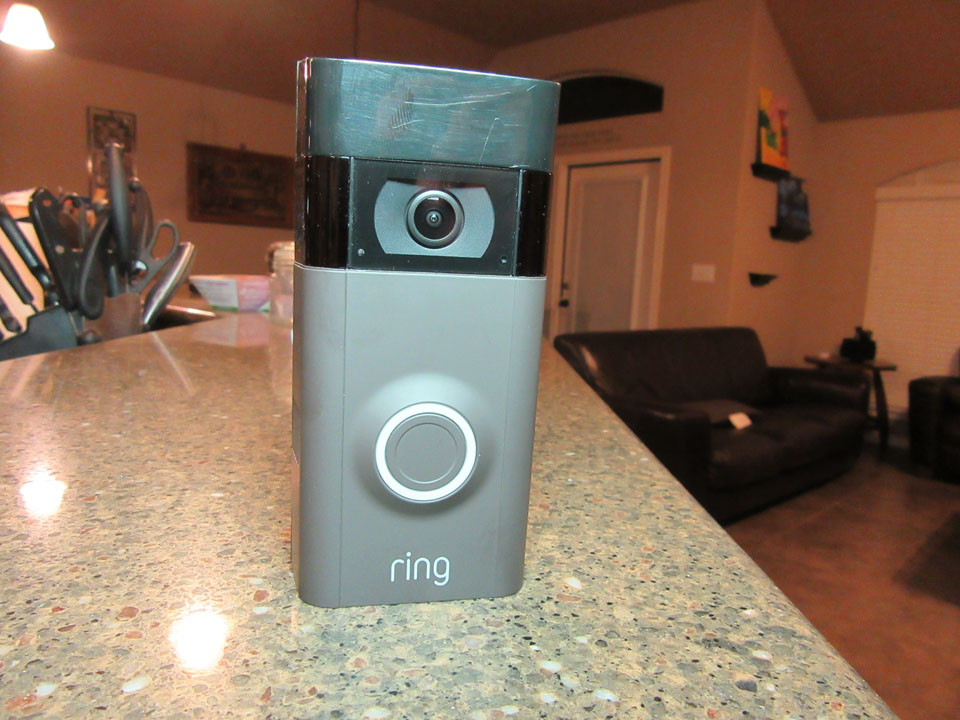
We have the doorbell itself and the included torx security screws like the original one. The doorbell itself is light, I guess there is no battery yet but the body and the faceplate are plastic which the original doorbell has a metal bottom. Kinda disappointing. The design still follows the old one but this new one is thicker. The back has 2 screws which I think you will hook up the wires.
Again..very plasticky…I’m surprised this is supposedly weatherproof..
Ring also provided the wedge and corner kits so as to be able to install and position your camera effectively. There are some houses that the regular doorbell is not parrallel to the door or wall or it is too high or too low mounted and this kit will help you angle the camera better. It is white so that you can paint it to match your house colors. It comes with the mounting screws. man, there is a lot of odds and ends in this package which is good so that you will have a lot of choices on mounting the camera doorbell.
Now, on the bottom of the box, we have the battery and the brown Venetian face plate. Also, we have a mounting plate adapter if you are replacing or upgrading your original doorbell. Now, this just means that this version 2 will have different mounting holes as compared to the original one. So, let’s see how it works later on when we do the installation.
We have the battery which can be easily removed now to be recharged. Ring states that the battery will last 6-12 months…
So, let’s open this up so that we can see how to put on the battery. This is the removable faceplate and we can change this to the venetian brown later on. We got some battery info…
So, there is a slot at the bottom for the battery and it just snaps in place like so. Now, we have some weight on this doorbell.
You just need to push on this metal tab to slide the battery out.
We need to charge it first before we continue with the setup and install. There is a micro USB slot at the bottom on where you can hook up the USB cord to charge the battery.
So, let’s set this up. First time users, you need to download the Ring app on your phone…then open it up..
Will click on setup device…choose Ring Video Doorbell 2
Name your camera…verify your address and click continue
We have to take off the faceplate to have access to the setup button on the upper right corner of the camera..then click continue..exit the app and go to your phone settings and to your Wifi…click on the SSID that has Ring plus numbers and letters on it..
Go back to the app and the Ring will show you your available Wifi..Now this version still only supports 2.4 GHz wifi..
Click your wifi and type in your password, click continue and now the Ring will be connecting to your wifi and the setup is complete.
It will start the setup guide in which you can set up motion zones. This is the same as the original doorbell, so I’ll set it up and click save. The user interface is the same as the old one…so we have the battery level here, I need to enable the Live view settings.
So let’s check out the Live View footage..
Now, let’s do the install…so i’ll be replacing my older Ring doorbell and we will first remove that..remove the mounting plate and replace with the new adpater plate.
Then I’ll hook up the extension wires on the back of the doorbell, then connect it to the main wires using the wire nuts. I’ll then slip in the adapter plate and screw it in on the wall using the original holes and screw in the camera using the short machine screws that are included in the mounting kit.
Now, let’s install the battery and the venetian brown..not bronze faceplate…and there you have it…the New Ring Doorbell 2. Oh we need to secure it with the included security screw.
So, let’s check out some footage….
This is and night infrared on. Totally dark outside and then with my light porch on.
This is early morning and you can see it just started recording when I’m almost to the door. I set up motion up to 20 feet out…with this test, I can tell you that there is still a motion detection lag with the new version.
This one mid day with the full sun. The video is definitely better than the 720p version but it seems washed out.
Finally here is a sample of ringing the doorbell and 2 way communication.
Here are my thoughts guys on the Ring Video Doorbell 2 you can take this with a grain of salt…the video is better as compared to the original one..and is supposed to be 1080p…but my floodlight camera feed is way better though. The motion detection lag is still apparent but my main complaint is the build quality..it is just to plasticky..all plastic. It is not built as robust as the original one. Now, as to the removable battery, well Ring says that the battery should last 6 to 12 months. I have no problem unscrewing the original one to charge it 2 times a year…I hard wired mine anyways…but this benefit is a wash in my opinion. Also, take note guys that if you take out the battery to be charged, the doorbell will not work. So, basically it is the same thing taking off the main unit to be charged.
Click Here to learn more about the Ring Video Doorbell 2 at Amazon.