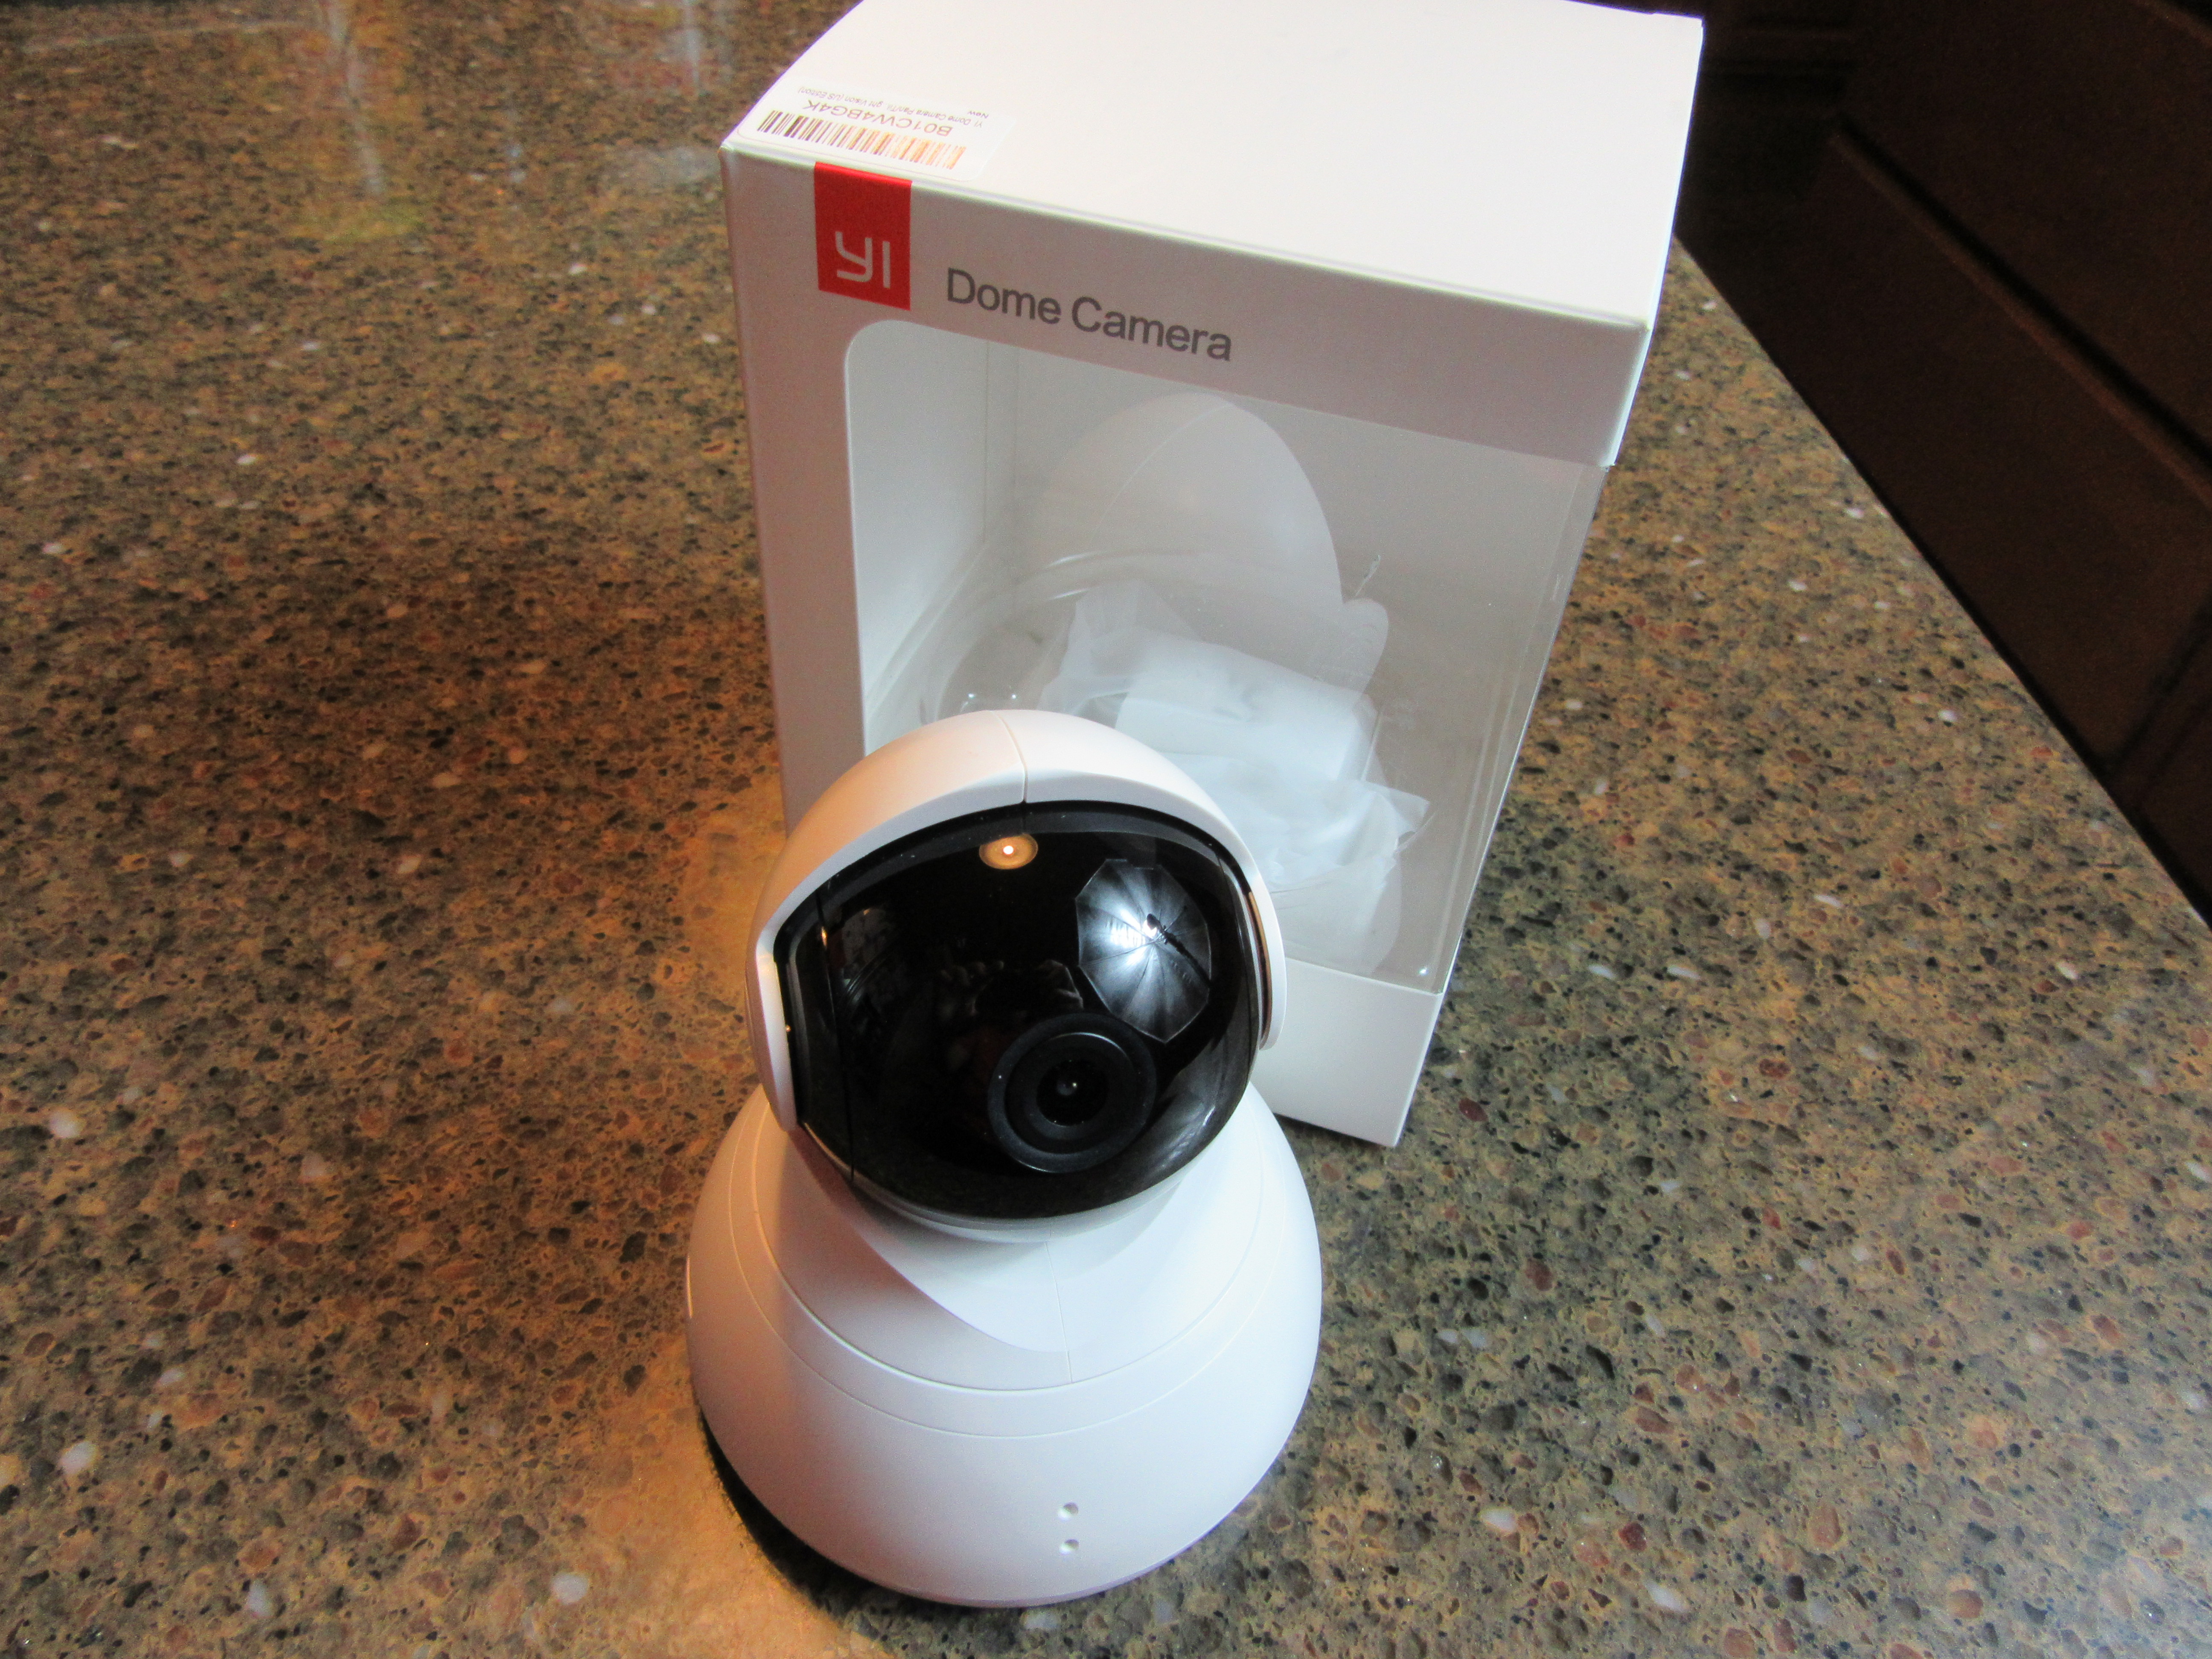
I’ll show and review for you today the Yi dome home camera..this camera can pan, tilt and zoom that you can control from the app on your phone. I got this from Amazon for $50 dollars and this little camera is a 720P HD..there is also a 1080p model for 70 bucks.
This camera can rotate 345 degrees and has an auto cruise feature in which the camera will pan around automatically. This camera can also tilt up to 115 degrees.
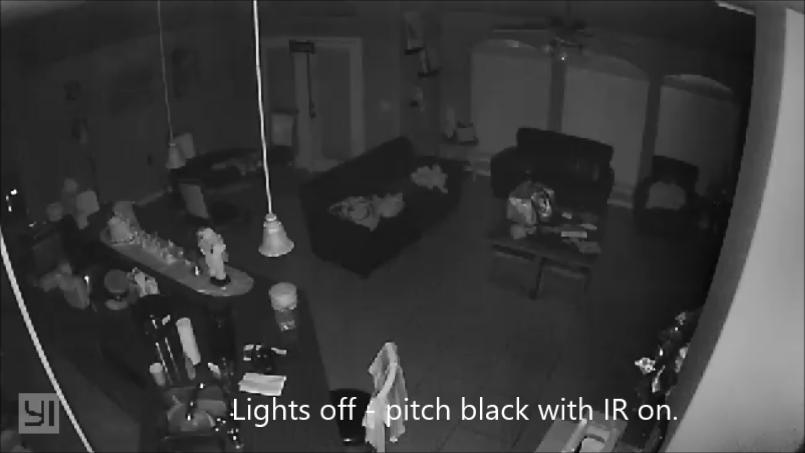
It has a 112 degree wide angle lens, has a night vision, 2 way audio and a feature which I like, the motion tracking..when on, the camera will track and record any moving object.
Now lets open it up..
We have an ad flyer, warranty information, easy set up guide and we have the camera itself – looks like an astronaut helmet..but pretty well made.
We have the reset button on the back, the usb – power supply slot and the micro SD card slot. This camera saves all the footage through the SD card.
on the side, i guess this is a vent, mic or speaker slot..lights in the front and another slot on the other side.
We have some mounting screws, the USB power brick and the power cord.
Lastly, we have the mounting plate if you plan to install the camera in your ceiling or in a wall.
Plugging it in, the camera will power up and will give you voice prompts.
You need to download the Yi app on your phone to get the camera setup… and I already installed the app on my Iphone..
You click on the plus sign on the upper right of the screen to add the camera. Choose the dome camera…then it will prompt you for your password for your wi-fi. Please note here guys that the camera will only connect to a 2G wifi and not a 5G. Most routers will have both, just make sure that your smartphone is connected to a 2G wifi. Click connect to wifi and follow the prompts…
Once you got the camera installed you just go the the app, pick the camera you want to access…I have 2 setup on mine..so i’ll pick this one..on the upper right gear icon you can change the settings/like turning the camera on or off… or you can change the camera name.. and can change the camera settings…
In here you can turn on or off the status light..if you want to be discrete..you can turn off the blue status light…you can flip the image or the view – like if you are installing the camera upside down like in a ceiling.
You can turn on of off the night vision IR light..change time zones..call mode on the 2 way audio.
Going back, you have setting for your smart detection..if you want to record any movements, you can turn it on or off..and you can change the sensitivity level to low, medium or high..you can also change the settings for the notifications..meaning on how the app will notify you of any movements or activity in the camera..you can also set it to low, medium or high..and you can also schedule the notifications..which I like…you can schedule what time range the camera will notify you..so in my case, I scheduled everyday from 2am to 4 am when everybody is asleep and on weekdays from 9 am to 3 pm..so basically if there are any notifications, that means lesser false alarm notifications. You can program up to 3 schedules from which you can add the start time and end time…so around these time ranges if the camera detects any motion, then the camera will notify you in your phone..
So, let’s try it out. I have to change it to 24/7 and I’ll exit the app and we will go forwards so that the camera can see us.. and lets wait for the notification…
So, let’s go to the app and click on alerts icon on the bottom screen and there you can see motion detected at 6:38 pm..click on it and you can see 6 seconds of the video clip.
Now, the camera will only record whenever it sees motion or activity. If you tap the bottom of the screen like so, it will show the timeline where you can see shaded areas in which the camera has recorded video..you can slide to the shaded areas and you will be able to view what was recorded at that time.
You can also change if to full screen so that you can have more control on the timeline..as you can see in the morning and early afternoon, there are no recorded footage because there were no activities or motion detected..
Ok on the bottom on the main camera screen, you will see a camera icon and this is for motion tracking and auto cruise..on auto cruise, you can set up a time frame in which the camera will do a segmented turn about every 10 seconds and it will pan up to 345 degrees and with a motion tracking, when the camera sees motion..it will try to follow that movement automatically..
So, let’s turn it on..
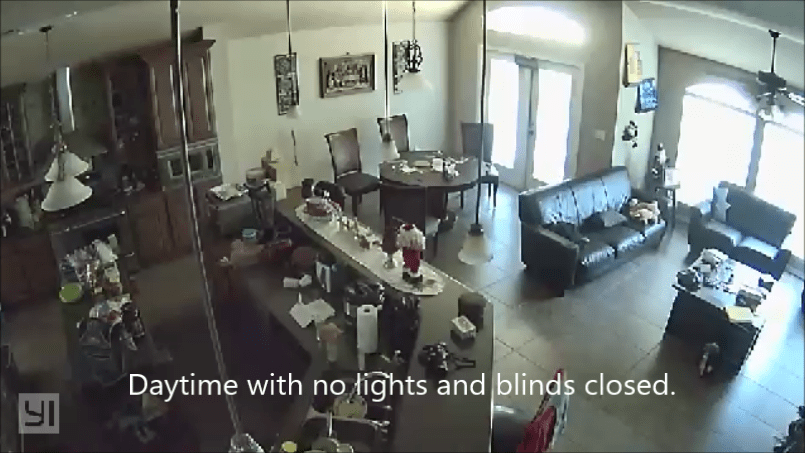
Now, I’ll show you video footage from the camera during different times of the day.

Now, let’s check out the auto cruise feature of this camera. You click on the camera icon on the bottom. You will see the setting for the motion tracking which I showed earlier and this time will check out the auto cruise. Basically, the camera will pan left and right turning in segments up to 360 degrees. You can set the period or schedule a time frame for when the camera will pan around or you can do all day cruising. As you can see every 10 secs the camera move.
Now we have the pan and tilt feature where you can pan the camera up to 345 degrees and tilt up/down up to 115 degrees. As you can see I can use the digital joystick here and pan right or pan left..up or down.
You can also use the pan/tilt feature in full screen by clcking the circle icon on the top right..and it will show the joystick control on the lower right of the screen. You can also zoom in/out by pinching in/out the screen.
Let’s check out the audio. The camera has a 2 way audio that you can listen and speak and have a conversation.
Lastly, this is how I set up the Yi Dome home camera in my living room. I have an electric outlet in my attic that I am able to hook up the power supply. So, the camera is 12 foot high so that nobody can reach it without using a ladder. It has a direct view of our living room and backyard door. I also have another Yi camera that is set up to view my front and garage door.
Overall, this Yi camera is an excellent buy for the money. It has a lot of features for a $50 dollar IP camera. There is no other monthly fees that you need to purchase as compared to other brand name cameras. Everybody tends to complain that somebody can just get the SD card and your video is gone. In my case, the camera is installed way up high in my ceiling and in the event that my wifi is not working, I will still be able to get the video footage as compared to other cameras that have cloud based recording. When your internet is out, so does your video footage.
Hopefully, this video will help you if your a planning to buy this camera. Let me know if there are any questions.