Today, I have another totally wireless IP camera to show you. This is the battery powered Reolink Argus 1080p full HD indoor/outdoor weatherproof camera.
This is 100% wire free
It uses 4 CR 123A batteries that can last up to 180 days in standby mode
You can also use rechargeable batteries
It has 2 way audio
It has excellent night vision
Uses a micro SD card to store the videos
1080p full HD camera
It has a magnetic base for easy mounting
It has a smart PIR motion sensor which minimizes false alarms
It has a built in alarm that automatically triggers when motion is detected
It has a 130 degree wide viewing angle
Access Live view and it is weather proof
Let’s open it up..
We have here some documentation…
A quick start up guide which is pretty detailed..
Have some advertising of other reolink products. I actually have their PoE NVR security system that I just installed and will also be showing you guys in the next few weeks.
We have some mounting template
Security stickers to place in your windows if you like.
We have another template and this one is for their magnetic mount…
We have a standard mount which I really don’t like because it gets rusted pretty quick.
We have mounting screws.
and another mounting screws this one is for their magnetic mount. It also has the reset tool.
Now, this is their magnetic mount which is the one that I’m going to use…
and we have batteries..4 of them CR 123A 3 volt batteries
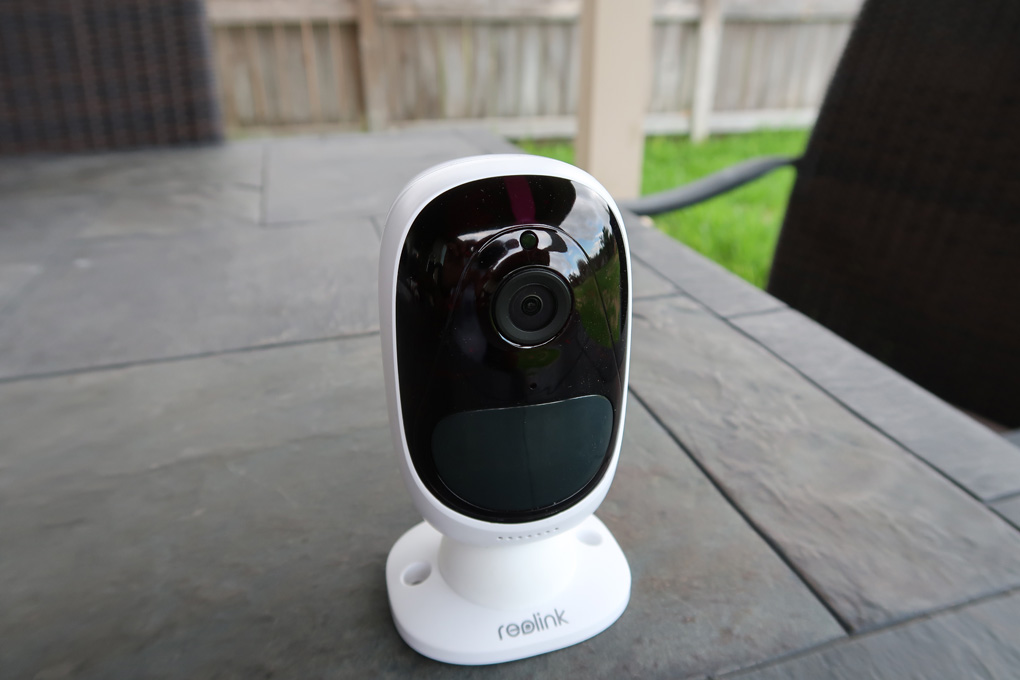
Then, we have the camera itself…it is like an egg shape looking camera..pretty solid construction with a plastic body.
In the front is the camera lens on the top with 6 IR LEDS around and the mic hole below… the PIR sensor on the bottom and the speakers directly below it.
On the bottom is a screw slot for the mount surrounded by a metal piece for the magnetic mount to lock on.
On the side is a rubber flap that covers the micro SD card slot and the reset button.
I’m going to put in a 16 GB micro SD card. You can put up to 64 GB. If it will not lock in place. We can use the plastic tool to push it in.
We just need to make sure that we push the rubber flap close for a tight seal.
To open the backside so that we can install the batteries, we will use the plastic tool which is included in the box. We just need to push it in on the tab on the bottom back of the camera and twist to pop off the back cover.
Let’s now install the batteries… put the back cover on and push it close.
With the magenetic base on, it will be easy to install and position the camera.
Listen and follow the voice prompts.
Let’s open or download the app..it is the same app that you use if you have the Reolink NVR system. If you are a new user, you just need to sign up for a new account.
Then, click add new device.
Click ok for the app to access the camera…
Then scan the QR code from the back of the camera.
Click setup camera…
Click I heard the voice prompt.
Type in your WiFi’s password which will generate a QR code..
then point the camera to your phone to scan the code.
Click on WiFi connection succeeds…
then name your camera and type in a password.. i’ll name my camera argus..
Click create a password…
then you can scroll to some information about the camera..this just states that the camera is not intended for 24/7 live view and recording because it will drain the batteries quick. It is more of a motion detector that records video when motion is detected plus with other functions like 2 way communication and with an alarm siren option.
Now, you will see the live feed from the camera.
Now, setup is not complete yet…so we are going to the main devices page and you will see on the right lower side of the feed there is an icon with a red dot on it. We need to finish the setup so that we will be able to get to the camera’s settings. We need to sync the camera’s time to the phone’s time and I enabled DST.
Click next and setup is complete.
Now, the icon changed to a settings icon and we will be able to access the cameras settings.
We have the WiFi settings..
We have network status
We have the display settings and these are the ones that are superimposed on the camera’s feed.. so we need to change the name of the camera to Argus…we can change the position, display the date and change the position…
There is rotation if you are installing the camera in the ceiling, you can flip the image.
Then there is a mirroring option also if you like.
And there is anti flicker…and you can change the frequency of the camera.
We have the quality… now there are 2 options..there is the clear which is the highest resolution..1080p…and you can change the frame rate..highest is 15fps.
There is fluent which is 720p and a frame rate of 5 fps.
You can choose if you want to record sound…
Then we have the SD card which shows the free space.
We have the PIR sensor..this is the motion sensor and we can change the sensitivity…
we can enable the siren… this is automatic when the camera senses motion, there will be a short burst of siren which I’ll demo later on.
You can also setup email if you want to get notified..
Then you can schedule the motion detection which there is a learning curve to set up.
We have the infrared LEDs which is set to automatic and turns on at night.
and we have the status LED..If the camera is recording, a blue light turns on and if you want to be discreet, then you can turn this option off.
Then we have the email settings..if you want to get notified via email.
We have the system info…
and the battery tab…where you can see how many minutes of battery life has been used.
Click on the speaker icon to listen.. mic to talk..
And you can take a snapshat of the feed by clicking the camera icon and a video by choosing the video camera icon. Pictures and video saved goes to the phone’s photo folder.
To view the 1080p feed..you need to change the settings to clear..the fluent is only 720p which the camera defaults to this setting.
Tilting to landscape mode and the camera automatically goes to full screen.
Picture quality of this camera is pretty good…
Now, let’s see some footage..daytime colors are vivid and clear and you can hear the sound of the TV without problems..
Let’s test the 2 way audio..
And for the siren..please note that I am partially covering the mic on the camera that I’m holding..so the sound is a bit muffled…
You will also get an alert that the alarm has been triggered. The alarm is not continous and it is only about 3 secs. long but further motion will retrigger it again.
To view your recordings, just click on playback and you can slide the bottom slider left or right to find the time you want to view and you can fine tune the time in minutes and seconds by using the upper timeline.
Now, let’s view some footage…
Lights on..
Lights off infrared on..
Please note that the Infrared LEDs light up and is visible when it records at night..so you really cannot be discreet in recording at night…
Now, I’ll be installing this camera outside and for the mean time, it will be installed side by side with my Blink XT so as to compare these 2 totally wirefree cameras. I’ll be posting a video on it the next week or so. I also have done a full review of the Blink XT and I’ll put the link in the description down below.
Now, retrieving and viewing the motion alert footage needs some fine prehension skills on your fingers and I hope they are going to update this and make it more user friendly in the future.
You have to click playback which defaults to the 12 am on the current day. So, you have to slide the bottom slider to the approximate time when the alert happened…which can be confusing at first
And you switch to the top time line to fine tune the minutes…and you can pinch out to enlarge the blue shaded area which means there are recorded video on that specified time. Please note that the Argus records only in 6 to 10 second increments and this cannot be adjusted at this time.
If you want to download the video clip, you can click the cloud icon and it will enlarge the timeline and give you a green window time frame where you can adjust, select and trim the video that is going to be downloaded. You can click play again just to make sure which video you are downloading..and this one is a 10 second clip..then click download video file…
After it is done, the video will be copied in your photos or video folder in your phone..
Overall, the Argus camera is a pretty good WiFi and totally wireless camera for the price and will compete well with the Blink XT. The app needs to be polished a bit and I think it would be nice to be able to set the length of recording time instead of the 6 or 10 sec. recording. Also, they have to make it easier for the user to watch and download motion activated footage and not to hunt it around on the timeline.